easy, real food recipes for families


High Protein & High Fiber Chia Pudding

Breakfast
High Protein Chocolate Peppermint Chia Pudding Recipe

Breakfast
High Protein Creamy Lemon Chia Seed Pudding Recipe

Breakfast
High Protein & Healthy Matcha Chia Pudding Cups

Breakfast
Creamy Chocolate Protein Chia Pudding Recipe – Healthy!
Breakfast
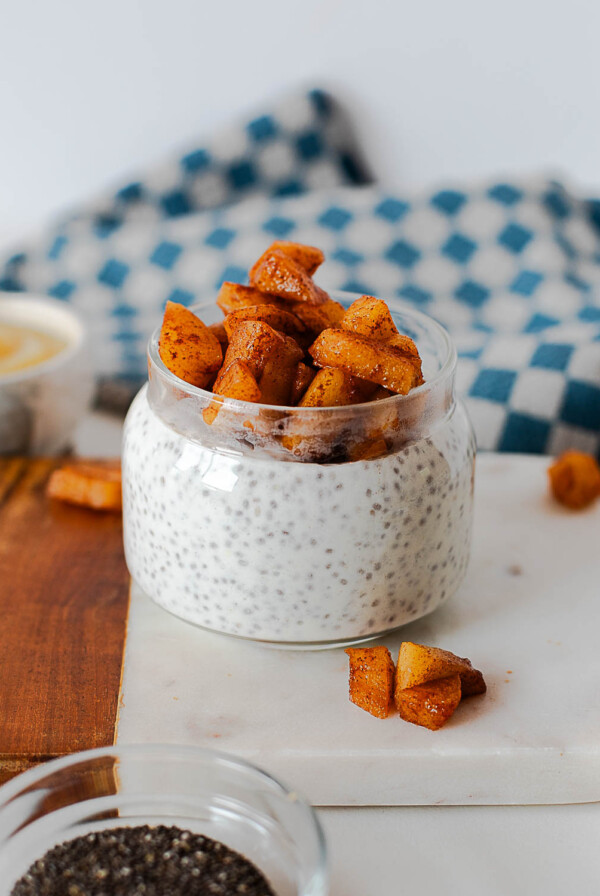
High Protein Apple Pie Chia Seed Pudding Recipe

Meet Heather
Hi! I’m Heather, the creator of Fit Mama Real Food, cookbook author, nutrition coach, group fitness instructor, wife, and mom of four. I started this site in 2008 as a way to share my journey to living a healthy lifestyle. Now, you’ll find hundreds of healthy, kid-friendly, high protein, low sugar, and colorful recipes to help you with your own healthy lifestyle journey. I’m so glad you are here!
The Latest Recipes
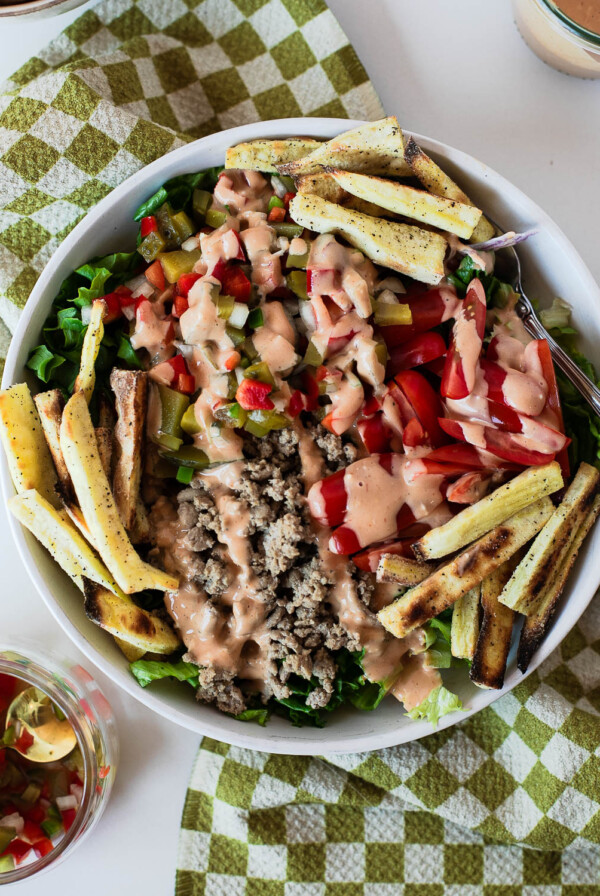
Lunch & Dinner
Healthy & High Protein Turkey Burger Bowls Recipe
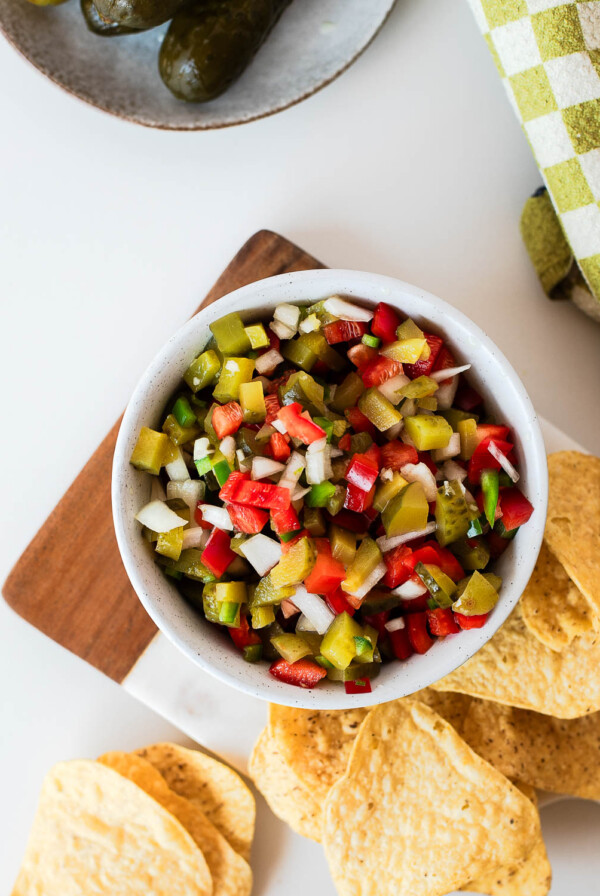
Sides & Appetizers
Quick & Easy 5-Ingredient Pickle De Gallo Recipe
Snacks
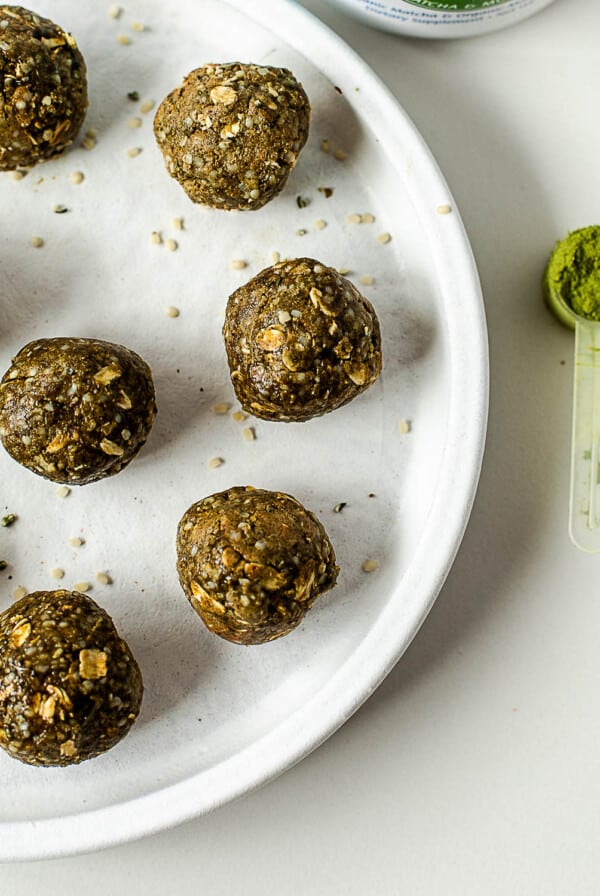
Matcha Protein Balls (Easy Green No-Bake Recipe)
Find the perfect recipe
Searching for something specific? Enter keywords to find the perfect recipe!
Or narrow by:
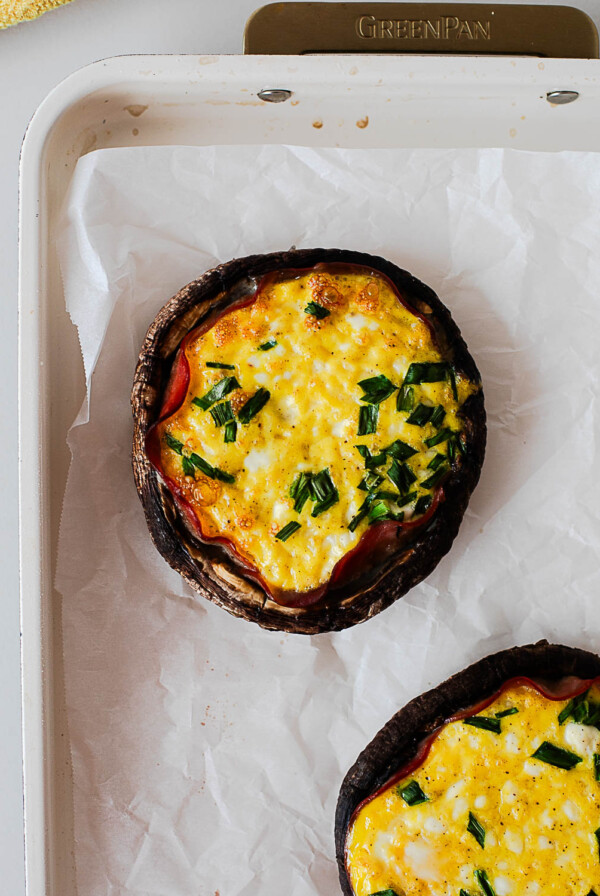
High Protein Breakfast Recipes with Eggs


Breakfast
Healthy Protein Packed Canadian Bacon Egg Cups Recipe

Top 5 Favorite Protein Smoothies


Make This Soup For Lunch or Dinner

Soups & Chilis
Healthy Crockpot Chicken Noodle and Kale Soup Recipe


Soups & Chilis
Easy Creamy Black Bean Soup Made in the Crockpot

Soups & Chilis
Instant Pot Broccoli Cheddar Soup
Breakfast
Recipes
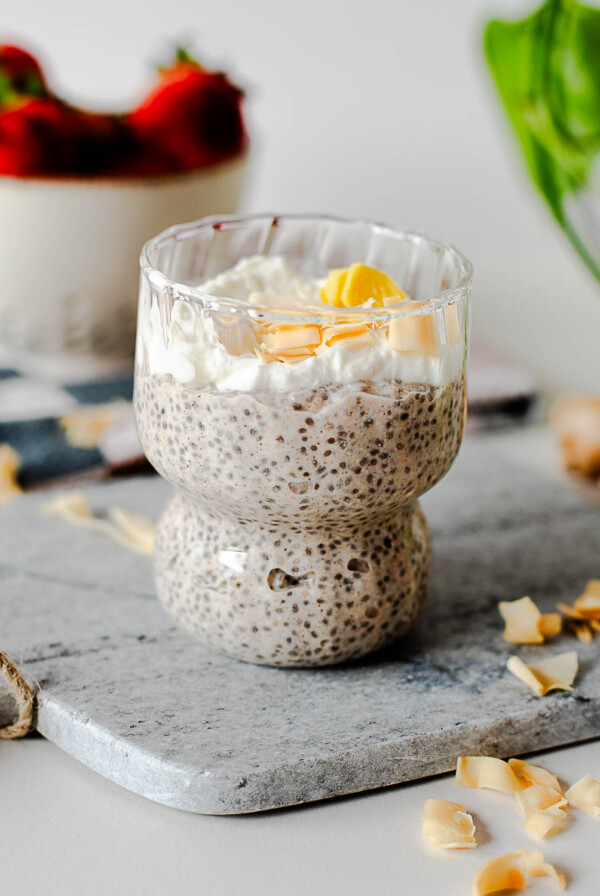
Creamy High Protein Coconut Chia Pudding with Ginger
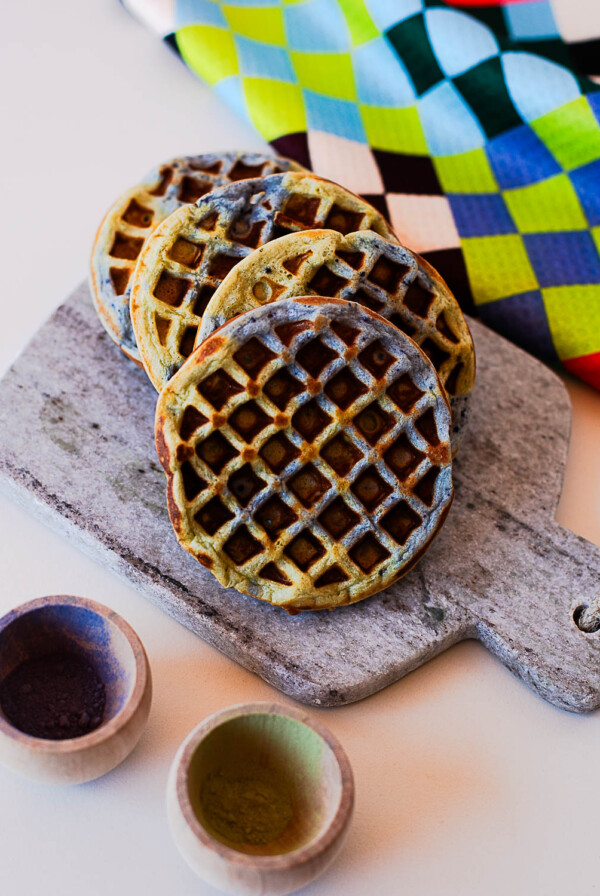
Breakfast
Earth Day Waffles (Fun Green & Blue Protein Waffles)

Get my Cookbook!
INTRODUCING my first cookbook Everyday Muffin Party: Healthy, Kid-Friendly Muffins to Make and Enjoy Together. Includes over 30 of the best naturally sweetened, gluten-free, and kid-friendly muffins to make with and for your family!
Bean-Based Desserts You’ll Love!
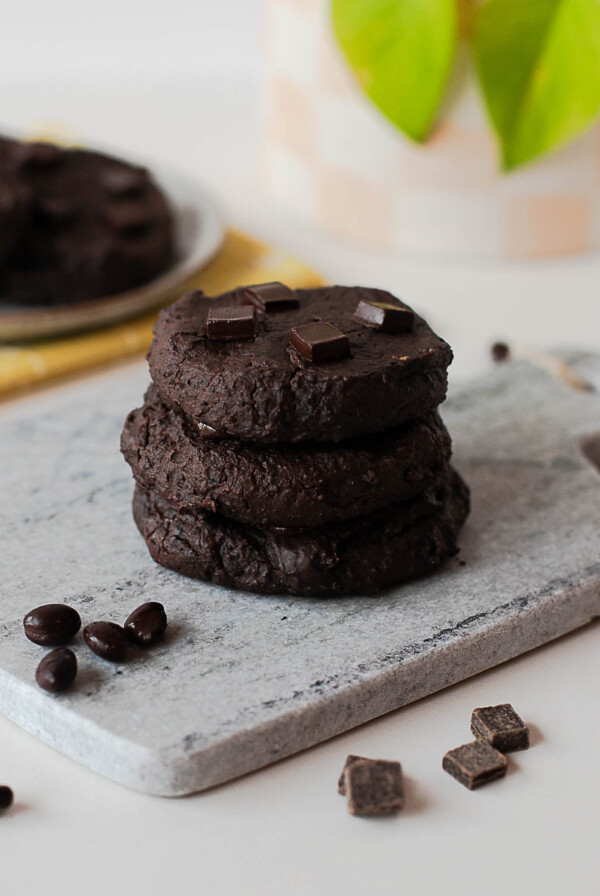
Desserts
Fudgy Black Bean Cookies (Flourless, Vegan + Easy!)

Desserts
Flourless Black Bean Chocolate Cake (Healthy + Gluten Free!)


Healthy Snacks To Try Today
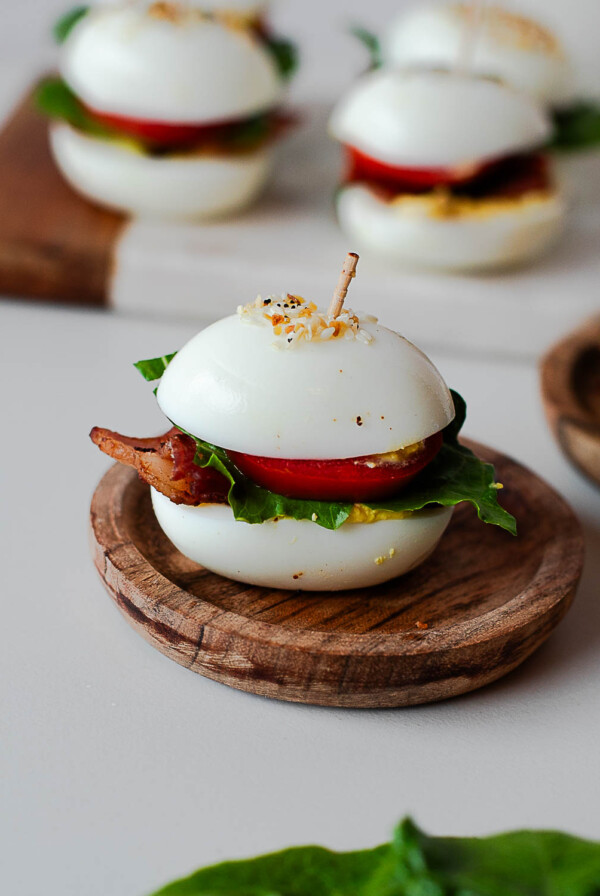
Sides & Appetizers
BLT Egg Sliders Recipe (Fun Twist on Deviled Eggs!)

Snacks
Chocolate Chip Chickpea Muffins (Fluffy & Flourless)

Desserts
Healthy 3 Ingredient Banana Brownies Recipe (No Eggs)

Breakfast
Dubai Chocolate Yogurt Cup (High-Protein Viral Snack)
Featured Video
Protein Cookie Skillet For One – High-Protein Dessert
Hit your protein goals with this protein cookie skillet! Think warm, gooey chocolate chip cookie, but made with simple, healthy…

Even More To Explore


